Key takeaways: Tagging transactions for QuickBooks Online
Assign expense categories before syncing to ensure accurate general ledger mapping
Speed up reconciliation by tagging transactions individually, in bulk, or at the virtual card level
Reduce manual coding with rules and AI-powered category suggestions for future transactions
With the QuickBooks Online integration connected, you and your team can tag cards and transactions with the expense category codes available in your QuickBooks account. This helps ensure every charge—virtual or supported physical card—is ready for reconciliation.
Each cleared transaction must have an Account expense category assigned before you can push it to QuickBooks. This ensures the transaction data maps correctly to your general ledger.
🔐 Feature Availability Note
QuickBooks Online integration is available to Extend Pro users and customers with eligible partner bank accounts. If your organization uses a non-partner bank, you can still connect QuickBooks for easier reconciliation, but virtual card features will not be available.
How it works
In the Extend web app, navigate to Card Transactions.
Follow the steps below to add expense categories to your transactions before syncing them to QuickBooks Online.
1. Code an individual transaction
Tag a transaction directly from the transactions table or flyout with the appropriate expense category.
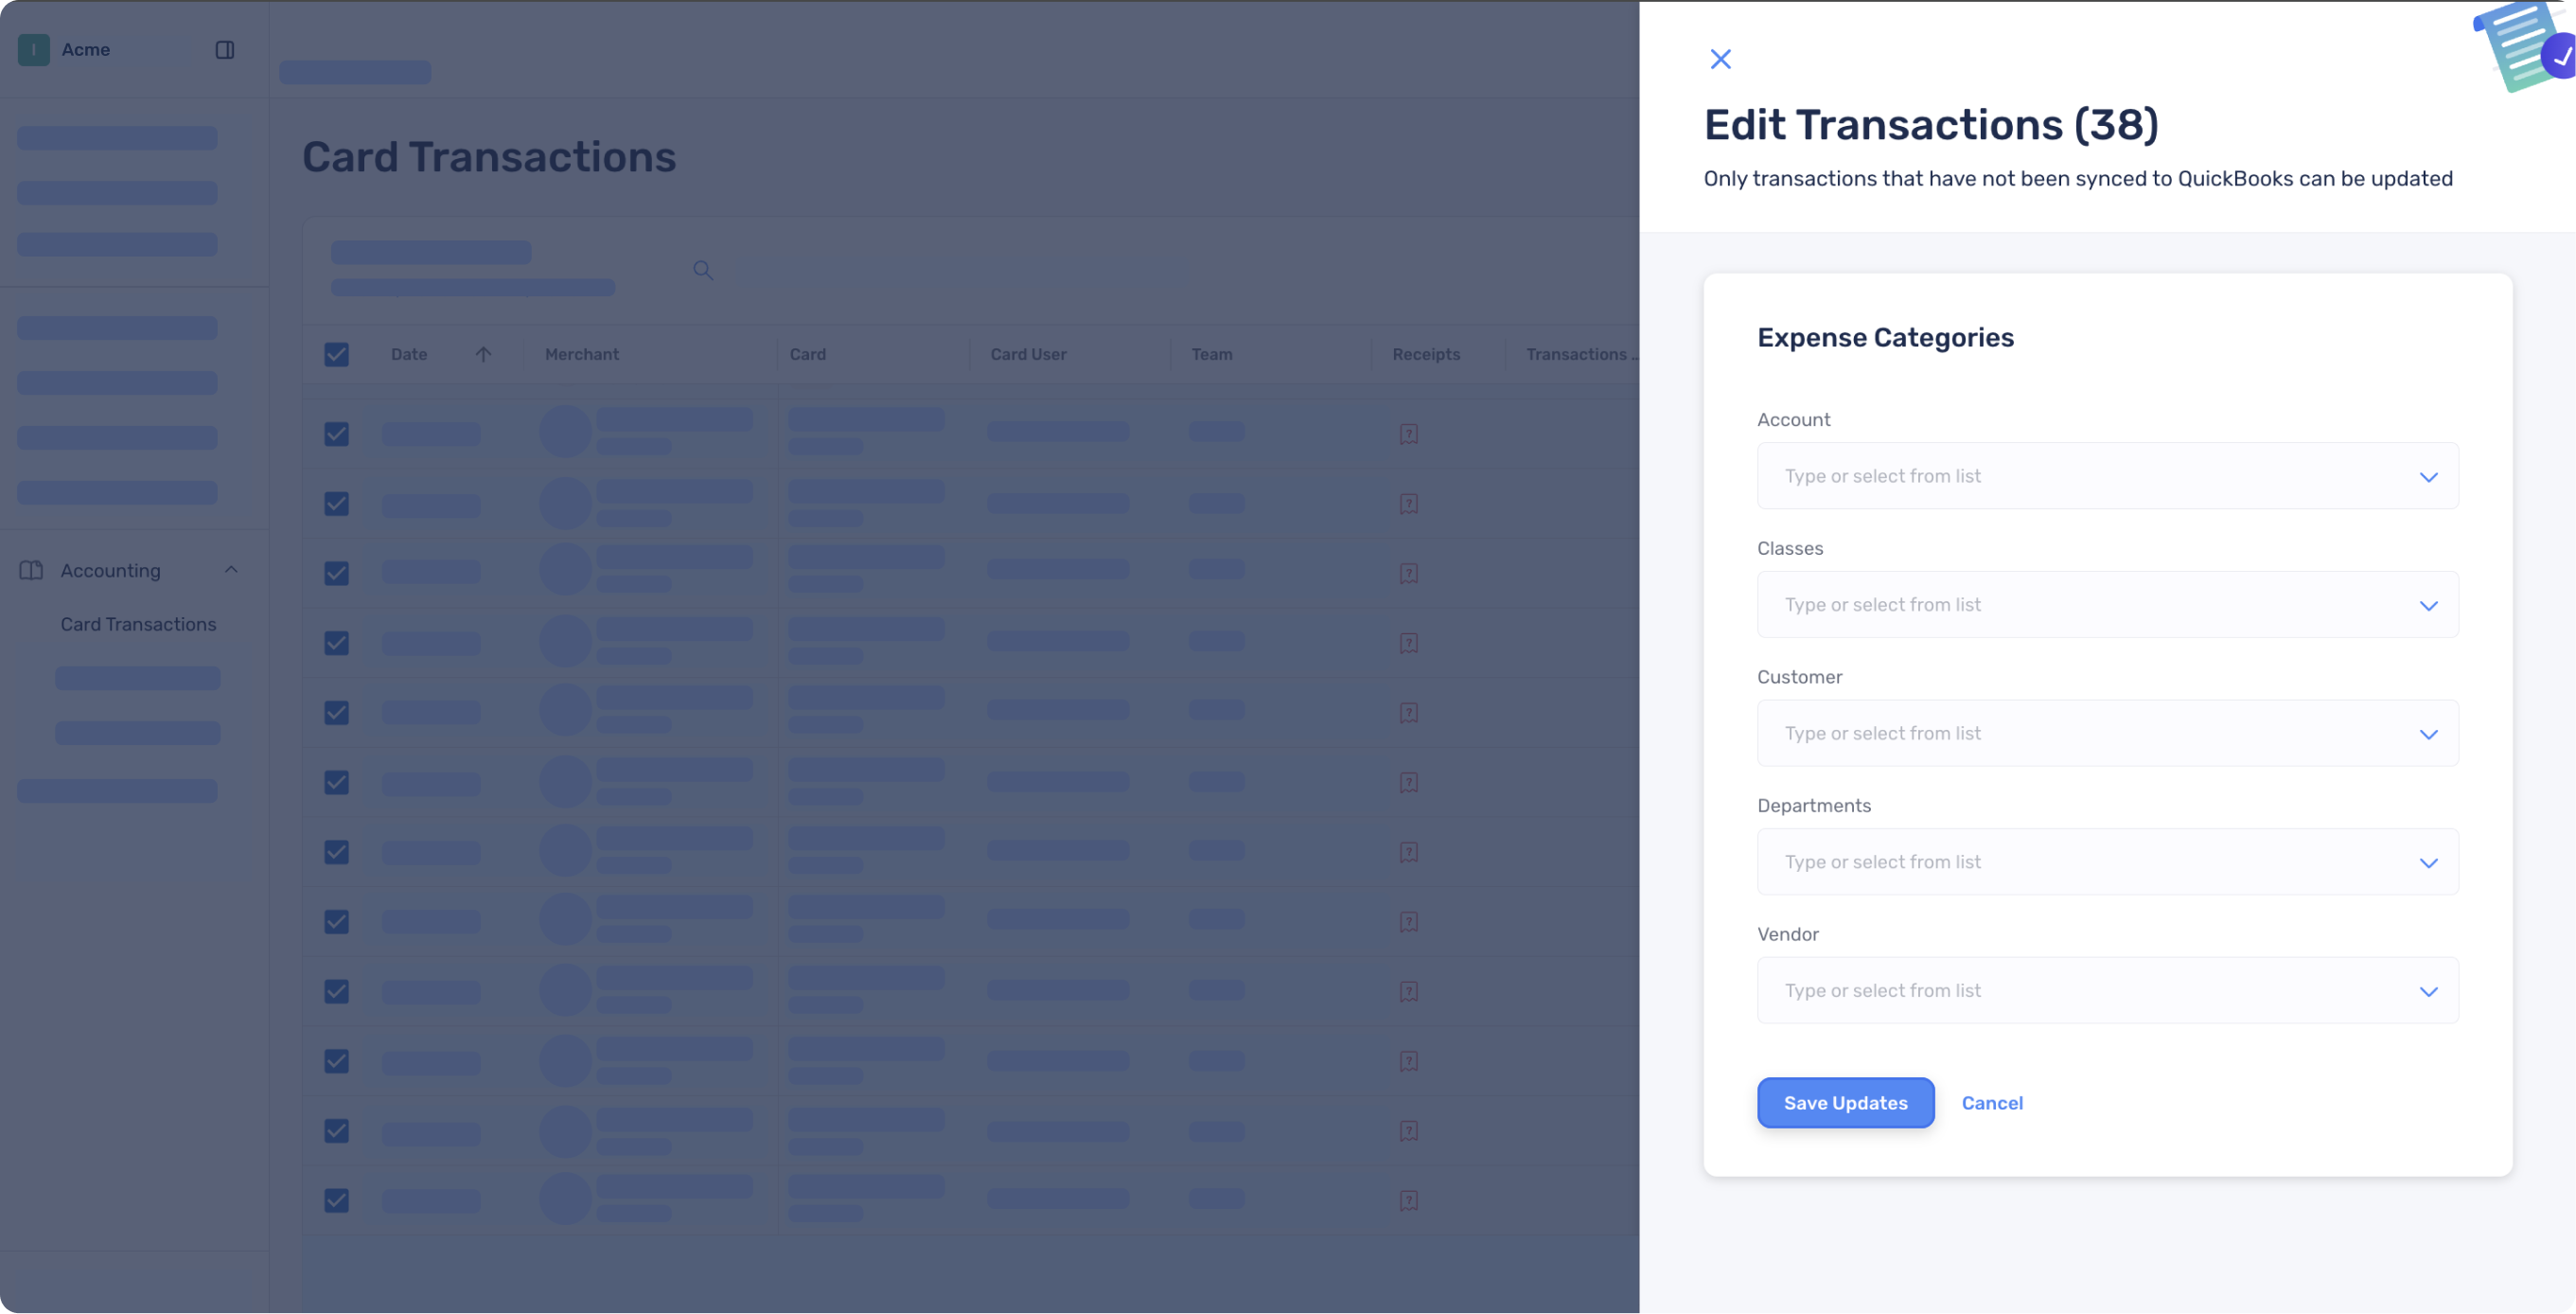
2. Bulk code transactions
Select multiple transactions and apply expense categories in one click — perfect for month-end cleanup.
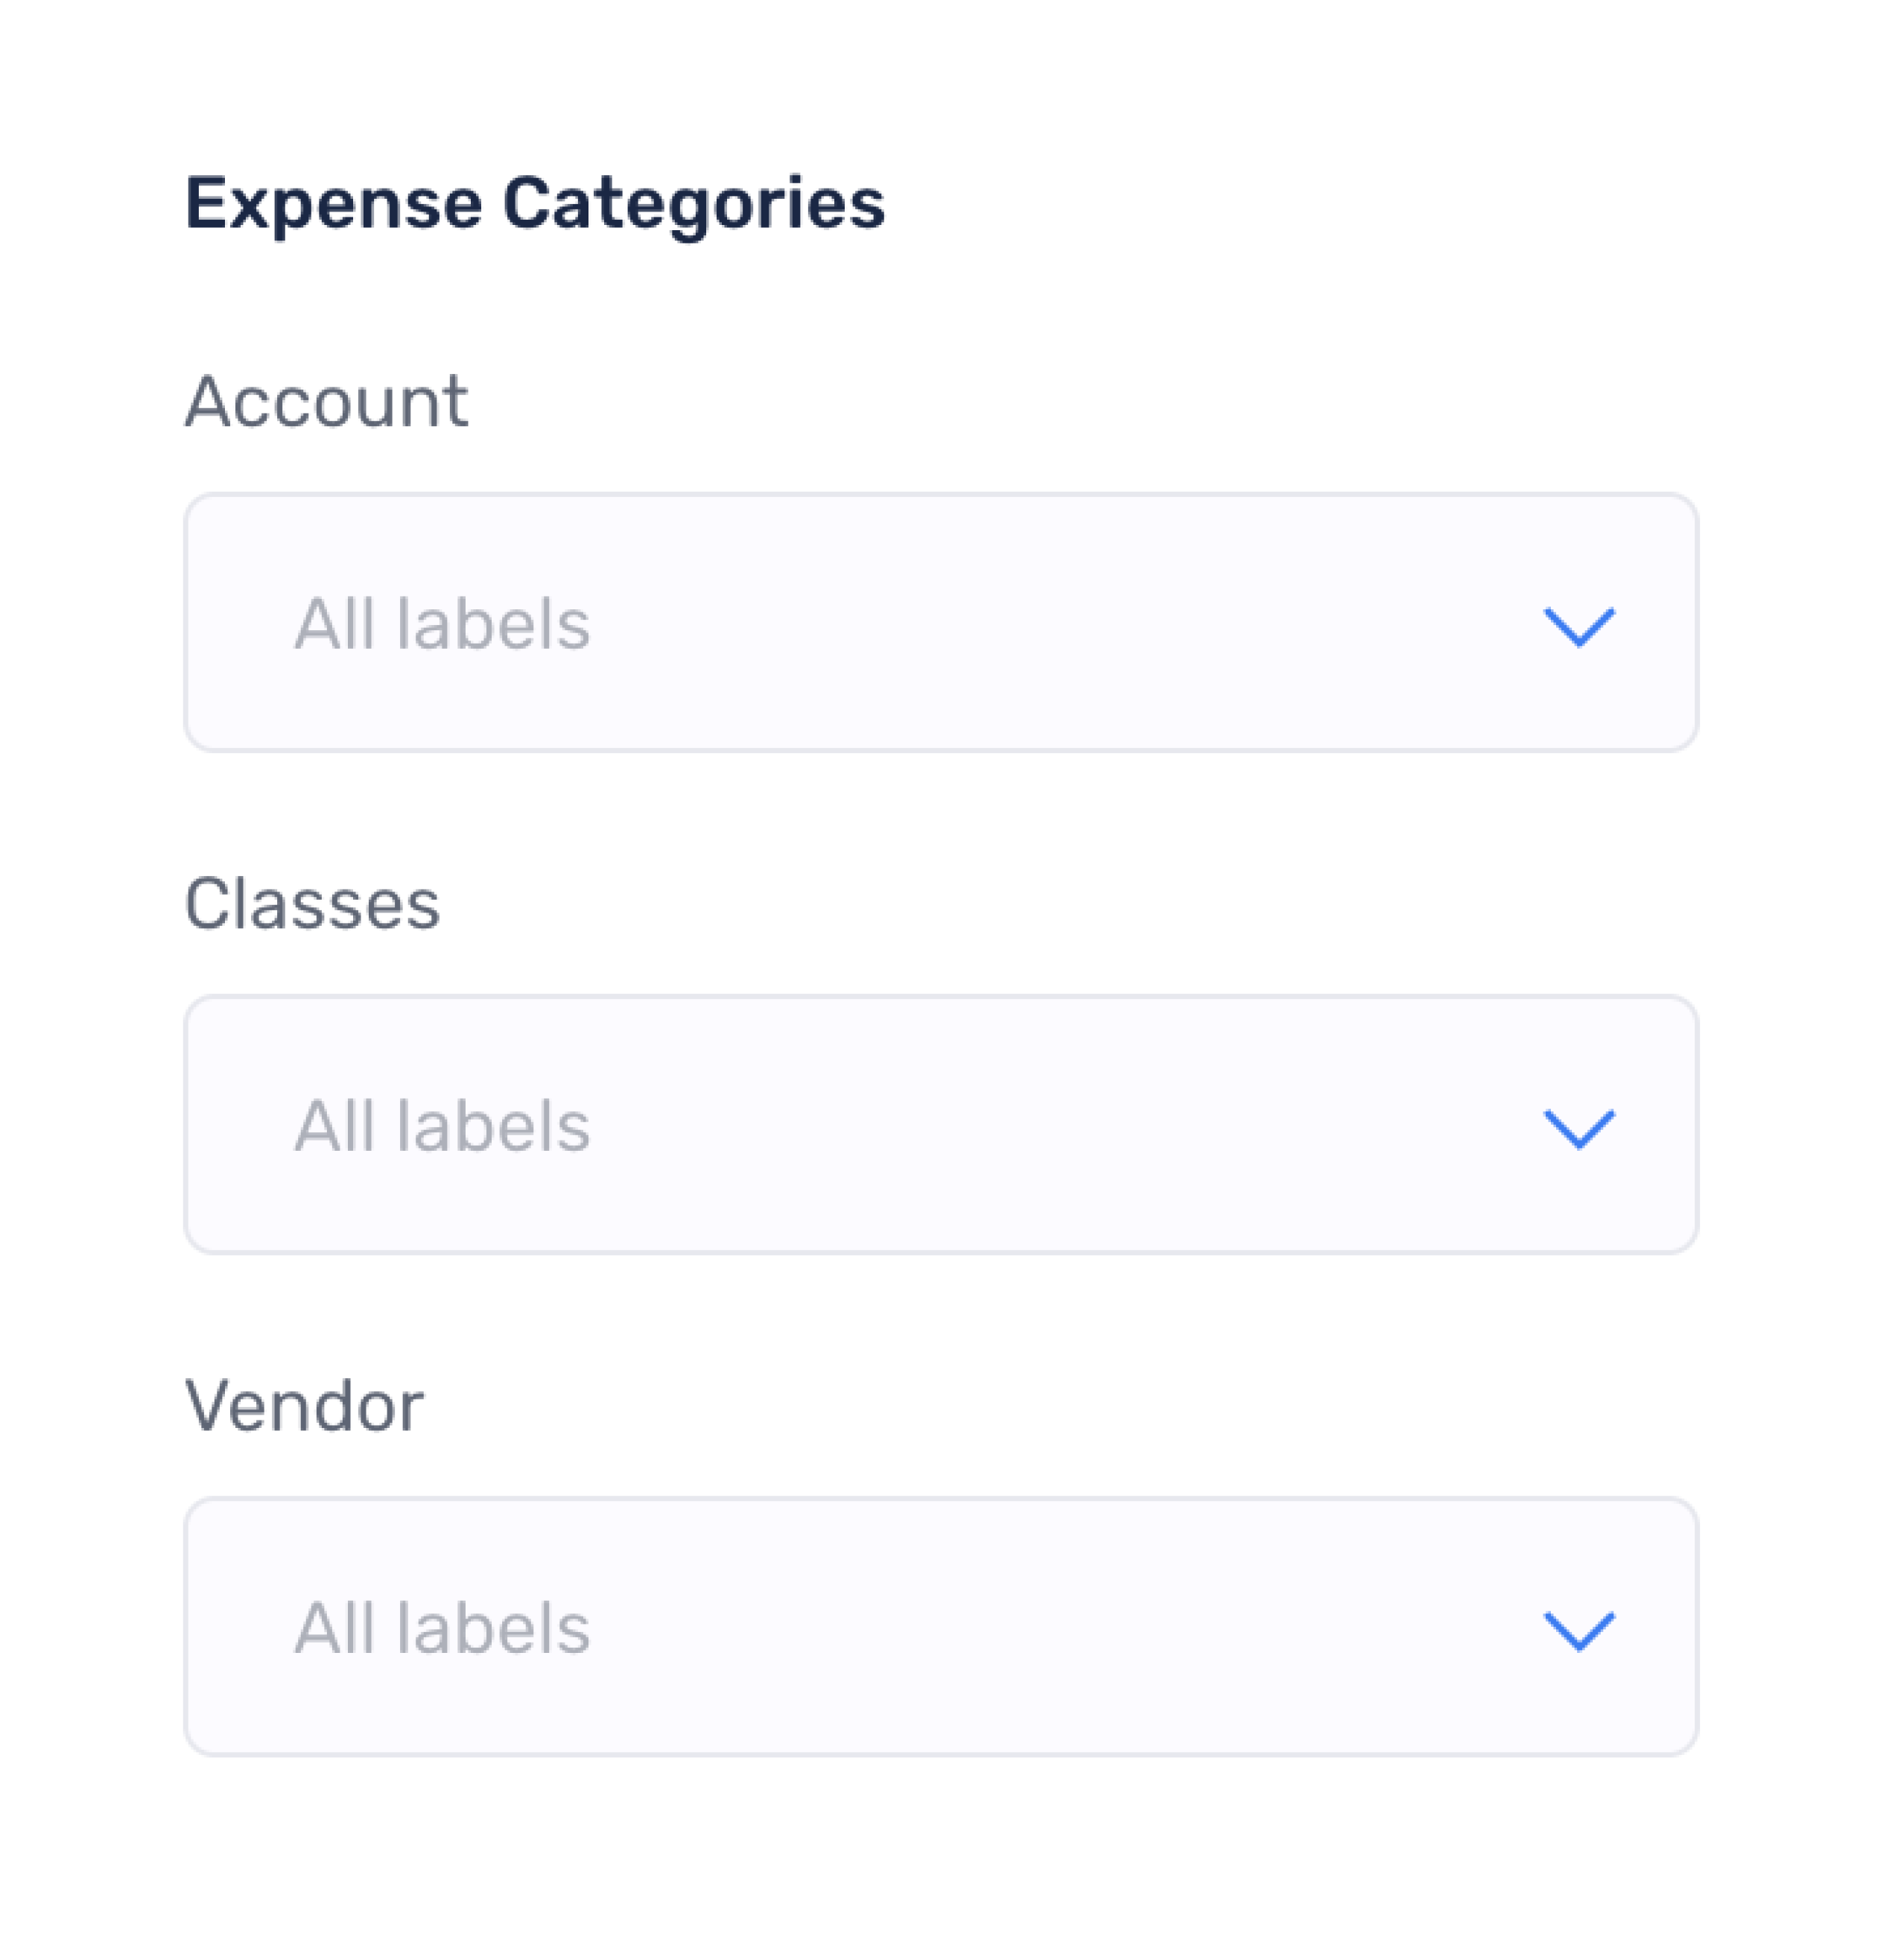
3. Tag virtual cards
To save time, you can tag a virtual card with expense categories. These categories will automatically apply to all future transactions on that card.
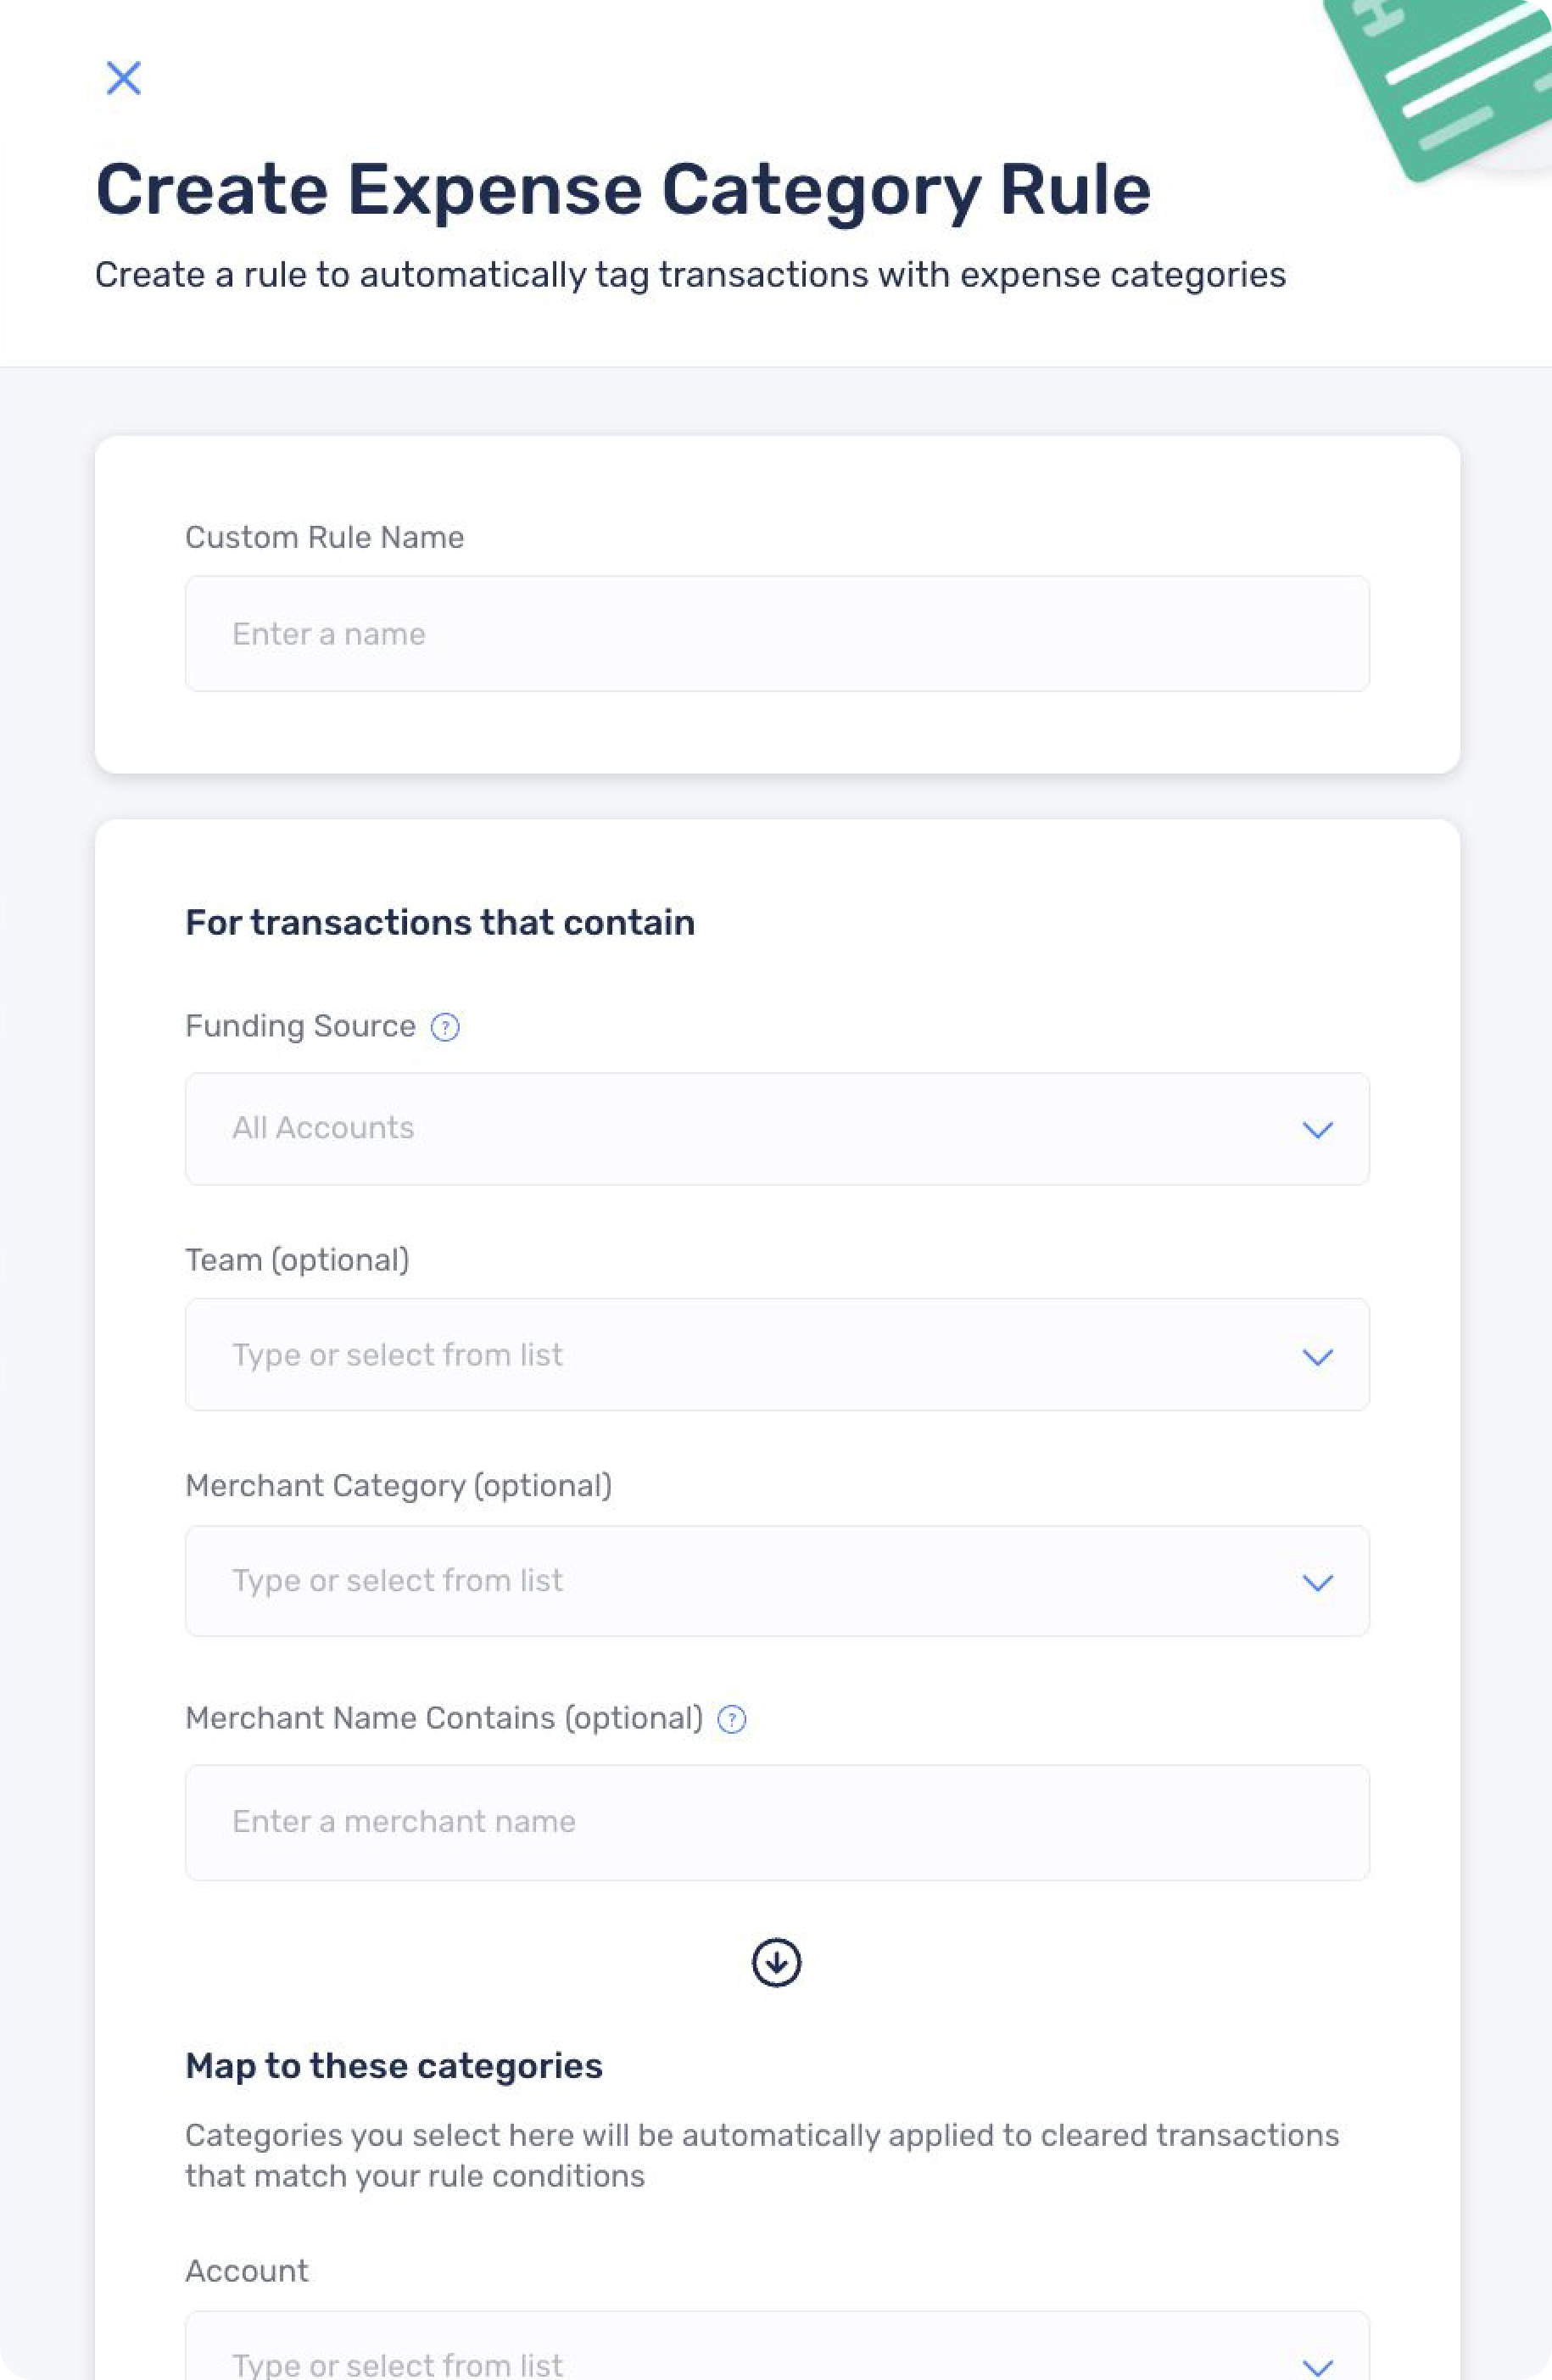
4. Expense category rules
Create rules to automatically code transactions based on virtual card, merchant, funding source, and other conditions.
5. AI-powered category suggestions
When enabled, Extend will analyze your historical coding patterns and suggest (or automatically apply) the most likely expense category as new transactions come in.
Note: If you tag a virtual card with an expense category or create new rules, it will apply only to future transactions. Existing transactions must be updated directly on the transaction or via bulk edit.
Expense categories can be edited on a transaction before it is synced to QuickBooks. Once synced, changes must be made directly in QuickBooks.


%201.png)


%201.png)
